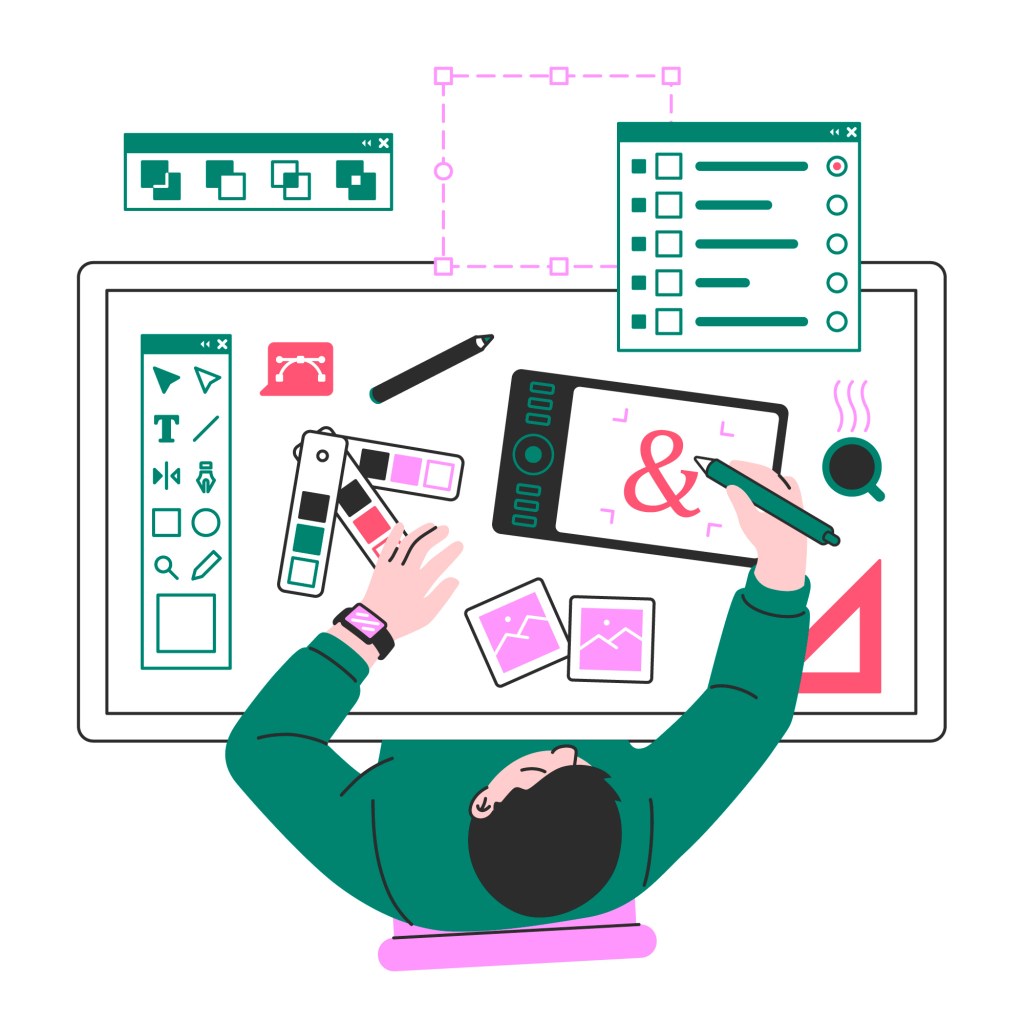
Prototyping is probably the most fundamental part of making a design in a design sprint. This is where the hard work that you have done throughout the first day’s final starts to pay off. But when I was doing my prototyping for my design sprints course, I came across an important section that helps you make your prototype into your final product.
Low, Medium, and High Fidelity. The three steps are the siblings that go from basic sketches to pure art. And while I was working, I kept getting lost. What on earth is the difference between them? Sure, some make sense, but for example, what’s the difference between high fidelity and being done with your project? Or how can you tell when you cross into each section? Well, that’s what this deep dive serves to do.
Prototyping Fidelity Explanation
As stated before, there are three types of prototyping fidelity: Low, Medium, and High. Each one has its unique steps and definitions to them, so gaining an understanding of each is important. I will be referencing StartUp-House’s definitions and go into a bit more depth because I believe their definitions have both a good explanation and what materials can be used.
Low Fidelity
The prototype is low fidelity. Using either paper or digital products, low-fidelity prototyping is meant to be easy and quick. This is because this prototyping stage is more destination-based than visual. Simple sketches that link page to page on what the user will eventually see. It doesn’t need to be complex, just simple enough to get ideas out there.
Medium Fidelity
Now medium fidelity goes next. After your low fidelity, you begin to make your sketches more detailed. What will that text say, where does that button go, can we make this interaction easier? Medium fidelity now focuses more on the user than the design. Can you get from point A to B without any trouble? Again, nothing super complex, but this time just enough that a designer can visualize where the user will go.
High Fidelity
Last but not least, high fidelity. Now this is where the big plays happen. You begin to make your app, whether in the exact program or not, this is where the design transfers from simple/decent to thought out. Visuals and completion are now the focus, to the point where the design will feel like a completed product. Minor bugs can be fine but at this stage, everything is laid out and done. You have enough to be complete.
They are Similar…
They do have certain similarities. ProtoPie lists a lot of good ones, like how all prototyping can be on the same tool, paper or digital. Or how low and medium prototyping especially tend to be under the same name because some medium fidelity prototypes don’t change from the sketches much. All prototype fidelities also don’t have to be interactive, since many designs are only single-page products.
But Different.
Despite the similarities, all fidelities are not the same. In design sprints especially, it’s actually important to figure out what you will do. In the Design Sprint Handbook, there’s a section about how the beginning phase of a design sprint can change depending on which road you take.
“The design sprint prototyping can range from low-fidelity to high-fidelity. But picking whichever will determine where you go.”
There are also smaller differences that are useful to know. Low and medium fidelity focus more on the user, while high fidelity focuses on the visuals. Low fidelity is recommended for simplicity, medium fidelity is recommended for early testing, and high fidelity is recommended for comparison to the version. No matter what, all the fidelities matter. So whether you’re preparing an app, design sprint, article, or just a silly poster, you now know the difference and the steps on how to use the different prototype fidelities.


Leave a comment